Wednesday, August 27, 2008

Caramel Lattes

Paul took me to Spain last year, and we were crazy about the coffee. Pretty much a shot of espresso and warm milk. It is delicious. When we came back home, regular coffee wasn't cutting it, so we decided to go the Spanish way.

Here are the instructions for my weekend Caramel Lattes...not necessarily what we had in Spain, but I love the Cinnamon Dolce Latte from Starbucks, and this is the next best thing.

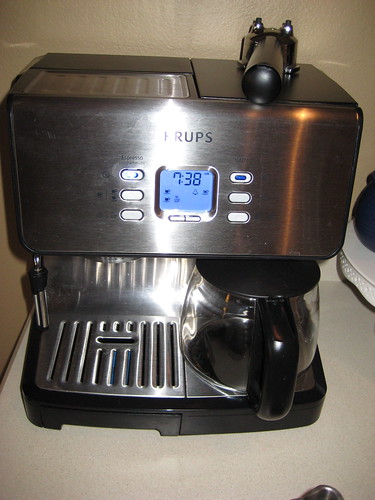
Here is my coffeemaker:

IMG_0823

First, I prepare my cups, I use about 1/3 tsp. of Cinnamon Brown Sugar Syrup. I find this at World Market:
IMG_0828

IMG_0829
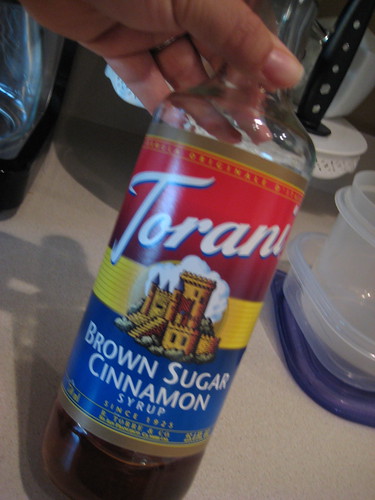
Don't use too much, this is pretty strong, and sweet.

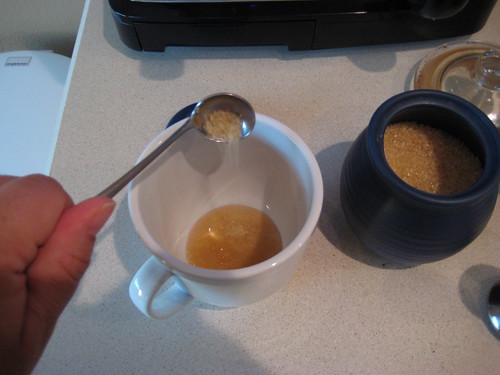
Then, I add my sugar, and I really like turbinado sugar, or Sugar in the Raw, and I only use 1 tsp...but you can adjust this.
IMG_0841

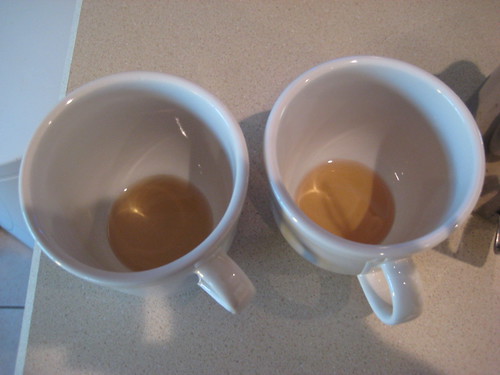
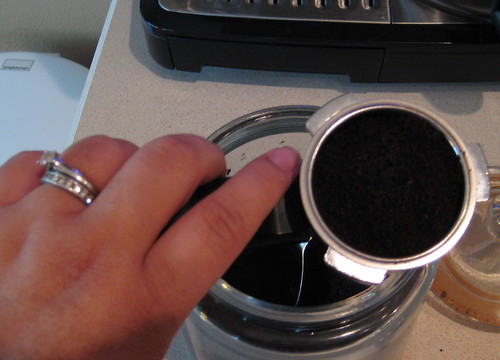
Now I am ready to make the espresso:

IMG_0832

I always make a double shot. Because I add so much milk, this makes sure the coffee flavor comes thru.

IMG_0838

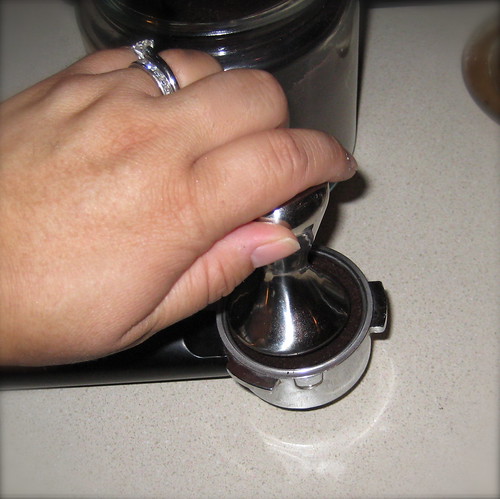
Then I tamp down the coffee, but not too much!

Time to make the espresso:

IMG_0850


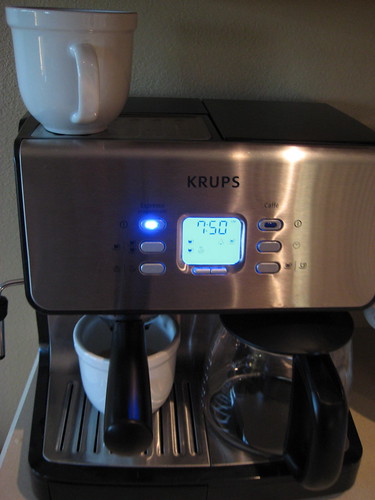
As you can see in the pic above, my coffee maker actually has a warming plate on the top, when you are done brewing, you set your up above to stay warm while you make another and also to stay warm while you froth the milk:

IMG_0849
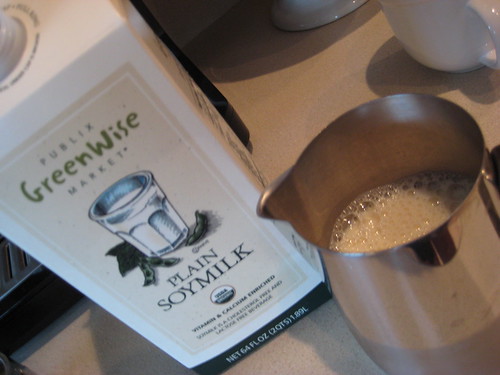
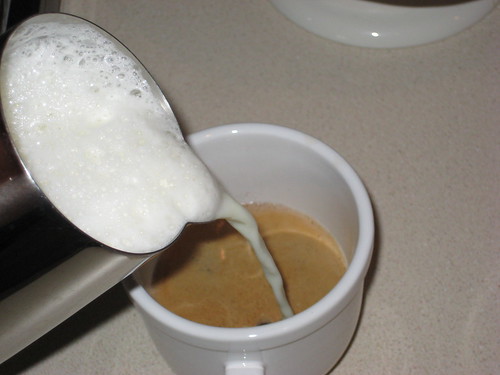
We only drink soymilk, so that is what I use. It froths really well too:

IMG_0862

IMG_0868

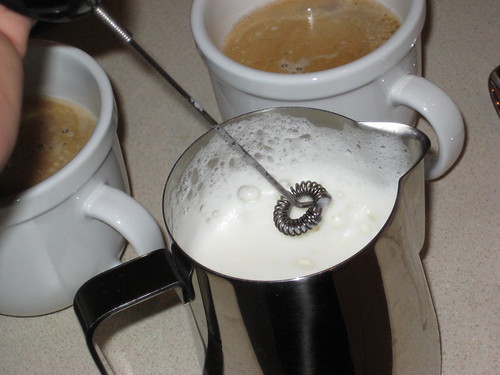
If I want a little more foam, I use this little immersion blender and it whips up the milk great.
IMG_0869
If you don't have a coffee machine that makes espresso and has the wand to froth the milk, pick up one of these. Make a strong cup of coffee, then warm up some milk on the stove or microwave (be careful because this will boil over the glass and make a mess in your microwave if you don't watch it!) and whip up your foam with this...it is a great tool!
IMG_0872
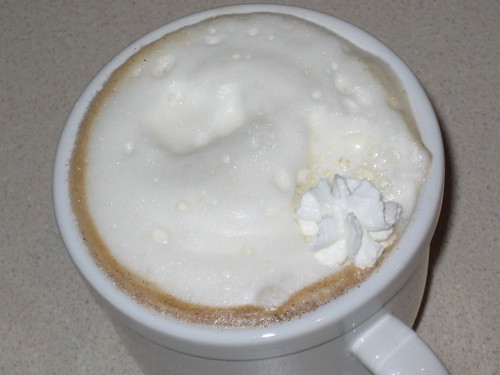
That is it, now I just stick the tip of the whip cream dispenser right under the edge of the foam and put a little in there to give it a bit of richness.

IMG_0875
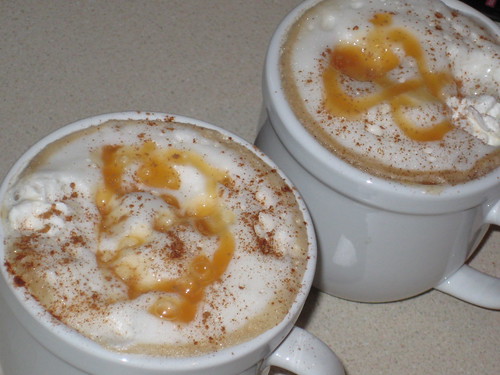
Lastly, I top it with a drizzle of caramel sauce and a shake of cinnamon...it is so good!

I only make these on the weekends, so they take a little time, but well worth it!

Friday, August 22, 2008

Carmen's Salsa

So, here is my mom's salsa recipe. It isn't hard, but very good! Everytime I make it people ask for the recipe. Here it is.

I made it one night with some shrimp fajitas...

Salsa and Shrimp Fajitas

Carmen’s Salsa

1 med white or yellow onion, finely diced (not a sweet or vidalia onion)
1 large can of petite diced tomatoes and the juice (unflavored kind, not the kind with peppers or onions, just plain tomatoes)
Diced pickled jalapenos, and about 3 tbsp of the juice from the jar (they sell these diced the jar now)
A handful of finely chopped cilantro, about 3 tbsp.
Juice of one lime
Juice of ½ lemon
Garlic Salt
Pepper

Add onion, tomatoes, jalapenos and cilantro to a large bowl, add lime and lemon juice, salt and pepper to taste. Tastes better after it sits for an hour.

You can totally make a fresh version of this salsa, with fresh diced tomatoes, and fresh jalapenos, but my favorite part about this particular recipe is the vinegary bite it has to it...you can only get that with the brine from the pickled jalapenos...it just makes it!

There is no real recipe for the shrimp fajitas...thinly slice one large vidallia onion, one red, yellow or orange bell pepper (not green!) and cook on high in a bit of olive oil until they take on some good color, about 5-7 minutes Then add some uncooked, peeled and deveined shrimp and some fresh garlic and cook until pink...don't overcook, about 3-4 min. max! Season with cracked black pepper and a little salt. Serve with some warm flour tortillas, sour cream and Carmen's salsa!

Enjoy!

Love you Mama!

Monday, August 18, 2008

Girl's Nite Out

I hosted a cocktail party for some of my friends last year, and just found some of the pics...here are some of the highlights:

Girls Party Buffet

The Buffet turned out great...key is white plates, I have a TON of white plates, and they make the food look so great. Simplicity, clean lines, I have learned a lot from older parties I have had, where too much goes on the table...to me, this is much more impactful.

IMG_6849
I think I saw this recipe on Giada, where she made savory parmesan polenta cakes, then topped them with a chicken salad with cranberries on top. These were really good, and looked amazing on the plate.

Stuffed Mushrooms
Stuffed Mushrooms with a soft herb cheese and roasted red pepper stuffing...simple and delicious.

My Asian Wings
I make these wings for gatherings just like this. Love the look of the black and white sesame seeds. These are simple...just marinade for a few hours or overnight, then bake in a hot oven. No babysitting...my kind of recipe.

Chocolate Fountain
For dessert at a girls cocktail party, the chocolate fountain is a must! I bought this a few years ago, and I use it ALL THE TIME! A great investment and a huge hit at a party...here are a few more shots.

Chocolate Fountain
I dressed the table with some chocolate satin fabric, that I just billowed under the fountain, and used clear glass dishes to hold the various goodies to dip into the chocolate.

Sunday, August 17, 2008

Martini's Anyone?

I had a couple friends from work over last friday for Martini's and made up some food to soak up the vodka...

IMG_0691
Martini's so chill, there are ice crystals on top!

IMG_0700
I used Fig preserves on the Panini, so good!

IMG_0709
Tuscan Garlic Loaf with fig preserves, honey roasted ham, arugula and camembert cheese panini...as Ina would say "how bad can that be?"

Friday Nite Martinis
Just a few sweets, chocolate fondue with strawberries and coconut macaroons...

Big Martini
Love those giant martinis!

Summer Cobbler

I saw this recipe on the old Food 911 with Tyler Florence and I have kept it in my recipe book for years. Every time I am in the market, and I see all the gorgeous peaches or all the berries on sale, I pick some up and bake one of these...my husband Paul loves it so much and it makes him happy whenever I make it.

Peach Cobbler Served

A few weeks ago, I made an all peach cobbler, and last night a peach and blueberry cobbler. The blueberries give the filling a pretty magenta color. Serve this cobbler hot with a scoop of ice cream, yum!

Although this recipe calls for lots of different berries, you can actually use whatever you like, in any combo, strawberries, blueberries, raspberries, peaches, plums, you get the idea...

Summer Berry Cobbler
Filling:
1 pint blueberries
1 pint raspberries
1 pint blackberries
1 pint strawberries, hulled and sliced in half
1/2 cup granulated sugar, plus more, for dusting
Pinch cinnamon
2 tablespoons cornstarch
1/2 lemon, juiced

Topping:
2 cups unbleached flour
1 tablespoon baking powder
1 teaspoon salt
1/3 cup sugar
1/4 cup unsalted butter, chilled and cut in chunks
3/4 cup buttermilk or cream
1 egg

Preheat oven to 400 degrees F. In a mixing bowl, combine all fruit with sugar, cinnamon, cornstarch and lemon juice. Stir gently to combine.
Peach Cobbler
Spread berry mixture out on a 10-inch tart or gratin dish.

Set aside and make the topping.

In a large bowl, sift together flour, baking powder, salt and sugar; mix thoroughly. Cut in butter using 2 forks or a pastry blender. The butter pieces should be coated with flour and resemble crumbs.
Prep Peach Cobbler
In another bowl, mix buttermilk and egg together, and then add to the flour mixture. Mix just to incorporate, do no overwork the dough.

Dollop spoonfuls of scone dough evenly over the top of the fruit; leave a border around the edge of the dish for spreading.
Summer Peach Cobbler
Drizzle the surface with melted butter and dust with sugar. Set on a cookie sheet and bake for 25 to 35 minutes until the top is golden brown and the fruit juices bubbling.
Peach Cobbler
Cool for 15 minutes before serving. Serve with heavy cream, whipped cream or vanilla ice cream.

Peach Cobbler Served

Saturday, August 16, 2008

Truffle Brownies


I saw this recipe on Party Line with the Hardy Boys...and it looks yummy...gosh, I post a lot of brownie recipes...huh!

2 eggs
1/2 teaspoon salt
1 cup sugar
1 tablespoon pure vanilla extract
1 stick margarine
3 ounces unsweetened chocolate chopped
1/2 cup all-purpose flour
Chocolate ganache for topping, recipe follows
Special equipment: 9-inch round foil cake pan

Preheat oven to 350 degrees F.
Using a hand held electric mixer, beat the eggs and salt together in a large mixing bowl until frothy. Add the sugar and beat until the eggs are thick and pale yellow, about 2 to 3 minutes. Add the vanilla extract and beat an additional 30 seconds.

Put the margarine and chocolate in a microwave safe container and microwave on high for 1 minute. Stir to insure that the chocolate has melted. Microwave an additional 30 seconds, if needed.

With the mixer running, pour the melted chocolate into the egg mixture. Add the flour and beat 1 minute. Scrape down the sides of the bowl and beat an additional 30 seconds.

Spray the cake pan with a pan release spray and pour in the brownie batter. Place the pan on the top rack of the oven and bake 15 to 20 minutes until the center is barely set.* Remove the pan from the oven and let cool. Top with the ganache and place in the freezer for at least 1 hour.

To serve, remove from freezer and slice immediately. Allow to come to room temperature before serving.

*Cook's Note: If tested with a toothpick the center will still be gooey. If tested by touch, the center will be soft. It will set once frozen.

Chocolate Ganache:
1/2 cup (4 ounces) semisweet chocolate chips
1/4 cup heavy cream
Put the chocolate chips and cream into a microwave safe bowl. Microwave on high for 1 minute. Remove the bowl and stir with a whisk or fork until well mixed. Use immediately. If using the ganache later it will need to be reheated.

Yield: 3/4 cup

Sunday, August 10, 2008

Pasta Making Class - Review

So, I am happy to say that the cooking class I took at Williams Sonoma was pretty great! It was a small class of 10, and though I was a bit disappointed about not getting hands on, I sat right up front and asked a hundred questions...I feel it was totally worth the price of admission. The instructor was a great chef, the class was casual and the pasta recipes were so simple! Here some highlights:

Tuesday, August 5, 2008

Cooking Lessons

So I signed up to take a cooking class at my local Williams Sonoma store tomorrow. They always send me emails about classes, but they always seemed amatur for me. But this week, they are teaching "Making Fresh Pasta" so I am really excited about it. It cost $30 for the class, and I better get to make some Pasta, it better not be no Food Network come to life, cause I can watch that all day at home for free! I will let u know how it goes!